

Finally got a delayed special order in town. The windows and doors are done.
archive
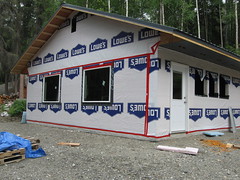
The hole up near the top of the gable end matches another one on the opposite side. We'll have big vents in there to let the roof stay cool, but this one stays open for now so I can crawl through to do the blow in cellulose insulation in a few weeks.
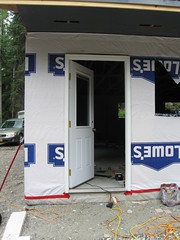
Doors mean that we can lock up our stuff finally. Finally...
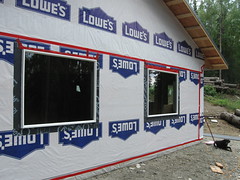
4x5's IN! One day in the future, these will come out along with the 7x9ish wall panels we built them into and leave a garage door opening while the panels go on to be two walls of a treehouse. Good trees already picked out for treehouse with view.
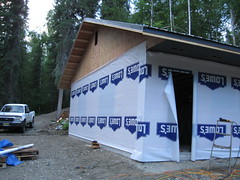
Since we end up being an advertisement for Lowes with their housewrap, the least we can do is put the logo upside down.
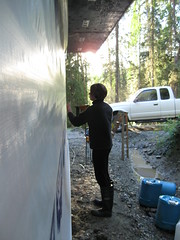
Chrissy stapling while I held the roll of tyvek. We wrapped and wrapped and wrapped.
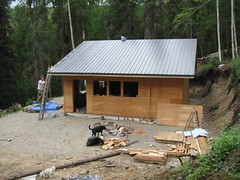
One side down, still to come: gable trim, North side roofing and ridge cap.
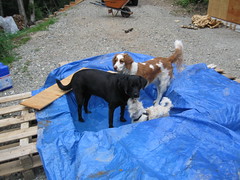
The dogs took advantage of a pallet and blue tarp pool we set up for them.
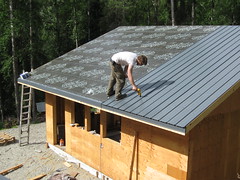
Metal roofing going down. Lots and lots of expensive rubber washer screws. Something like .15c apiece. After this part is done, I'll be using the metal detector to find all the dropped screws to use on the roofing for our shed this fall.

Chrissy painted all of the soffits. My attention to detail (or an occasional lack thereof) led her to be the only paintbrush holder in the deal.

The metal starts going down. It was amazing how much this really tied the roof together too. Home becomes a solid piece now.
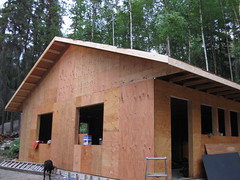
Now to finish the East side and get moving on to metal trim.
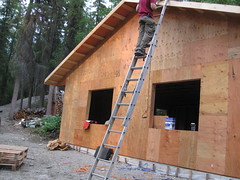
the gable end fascia board went up without any major problems, but was pretty awkward to hold in place for those first few screws. Most of this trim will be covered with metal trim when its all done.
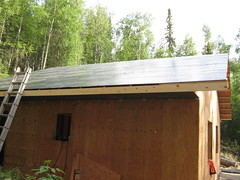
North side fascia board in place, ready to move to the southside and do the same thing with a little more understanding.
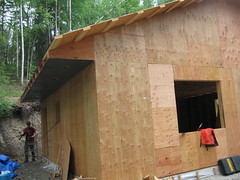
soffits up, ready to put the eave on. Should have done this in reverse, but thats how it goes sometimes.
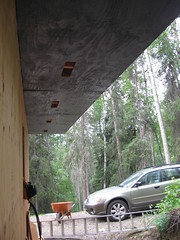
Started on the soffits, painted slate grey to match the roof. We're making a "cold roof" so the vents are to allow air to travel in and up over our blown in insulation allowing the roof to hold snow through the winter and not create ice dams.
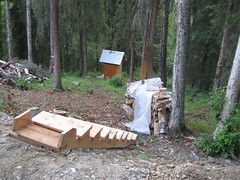
We built a set of stairs to bridge the treacherous hill to the outhouse. Next comes a railing for these and a rope the rest of the way down. Falling on the way to the outhouse should not be an option.